Vegetarian

Black Bean Salsa-Stuffed Peppers

As I write this I’m staring at my big orange suitcase, affectionately known as The Pumpkin, which is 99% packed for my annual girls trip to Vegas.  It can’t come fast enough.  By this time tomorrow morning, the first day of Spring (applause!), I’ll be on a plane trying to keep myself busy enough for the 5 plus hours to go by quickly so I can start gambling, sunning, drinking, betting, and overall partying.  In preparation for the trip and any decadence coming my way, my friend and I endured a week-long cleanse last week, which I won’t bore you with, and I have been super-strict since.  These Black Bean Salsa Stuffed Peppers were made before the cleanse but they are healthy enough to have anytime you are watching your waistline.  I kind of wish I had them now.

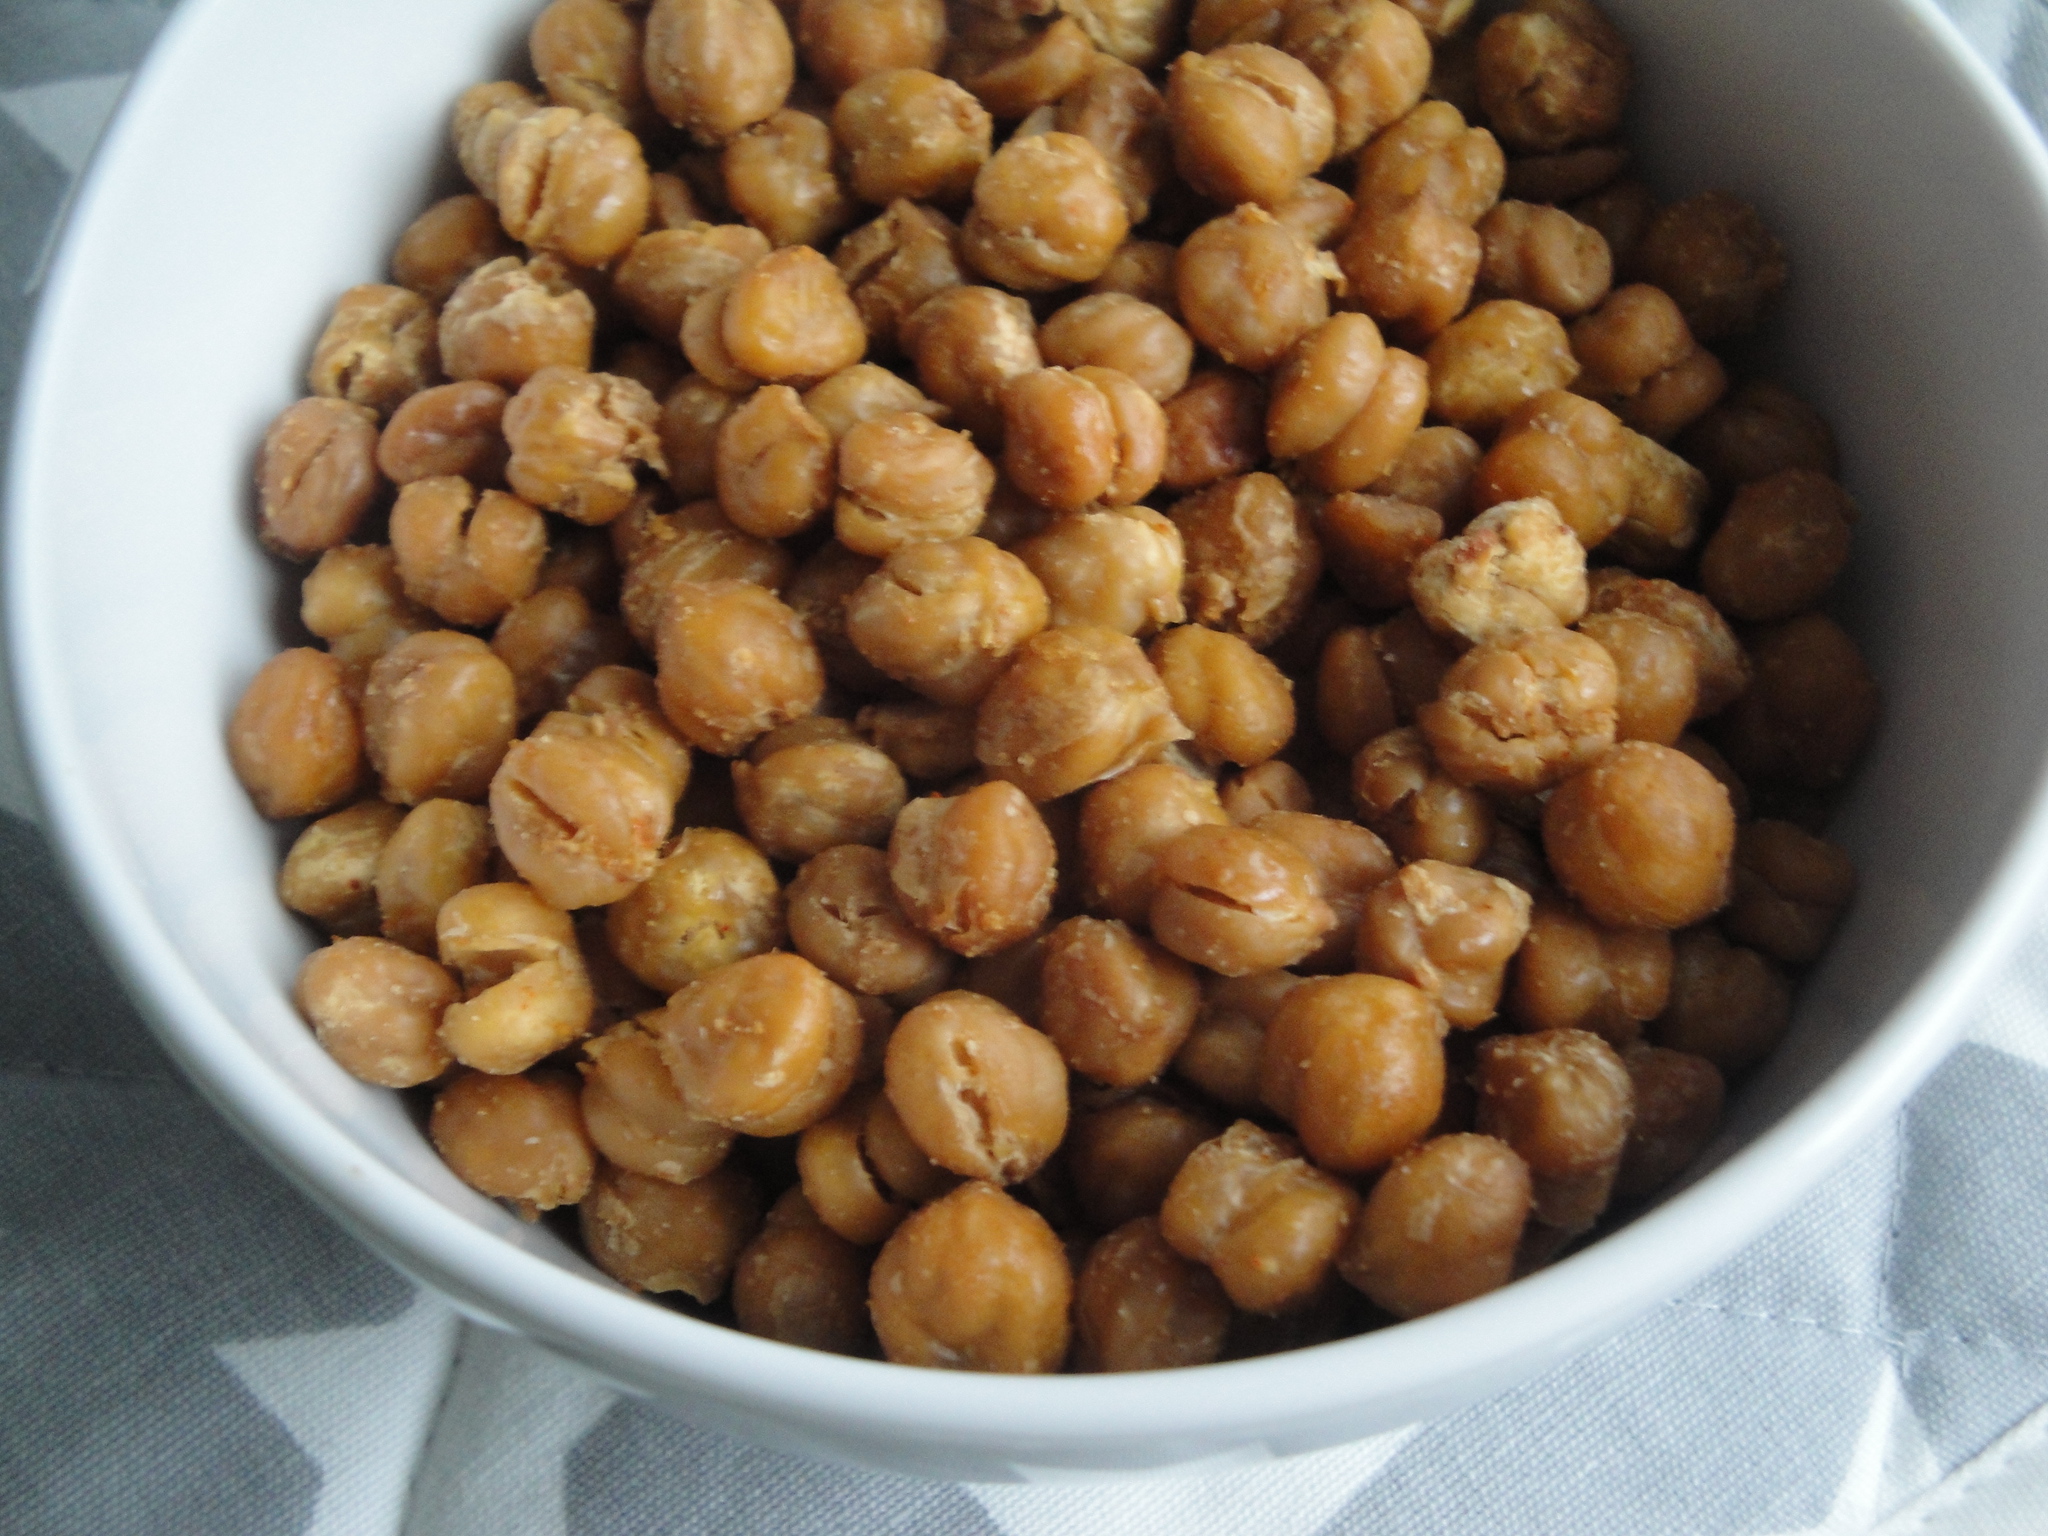
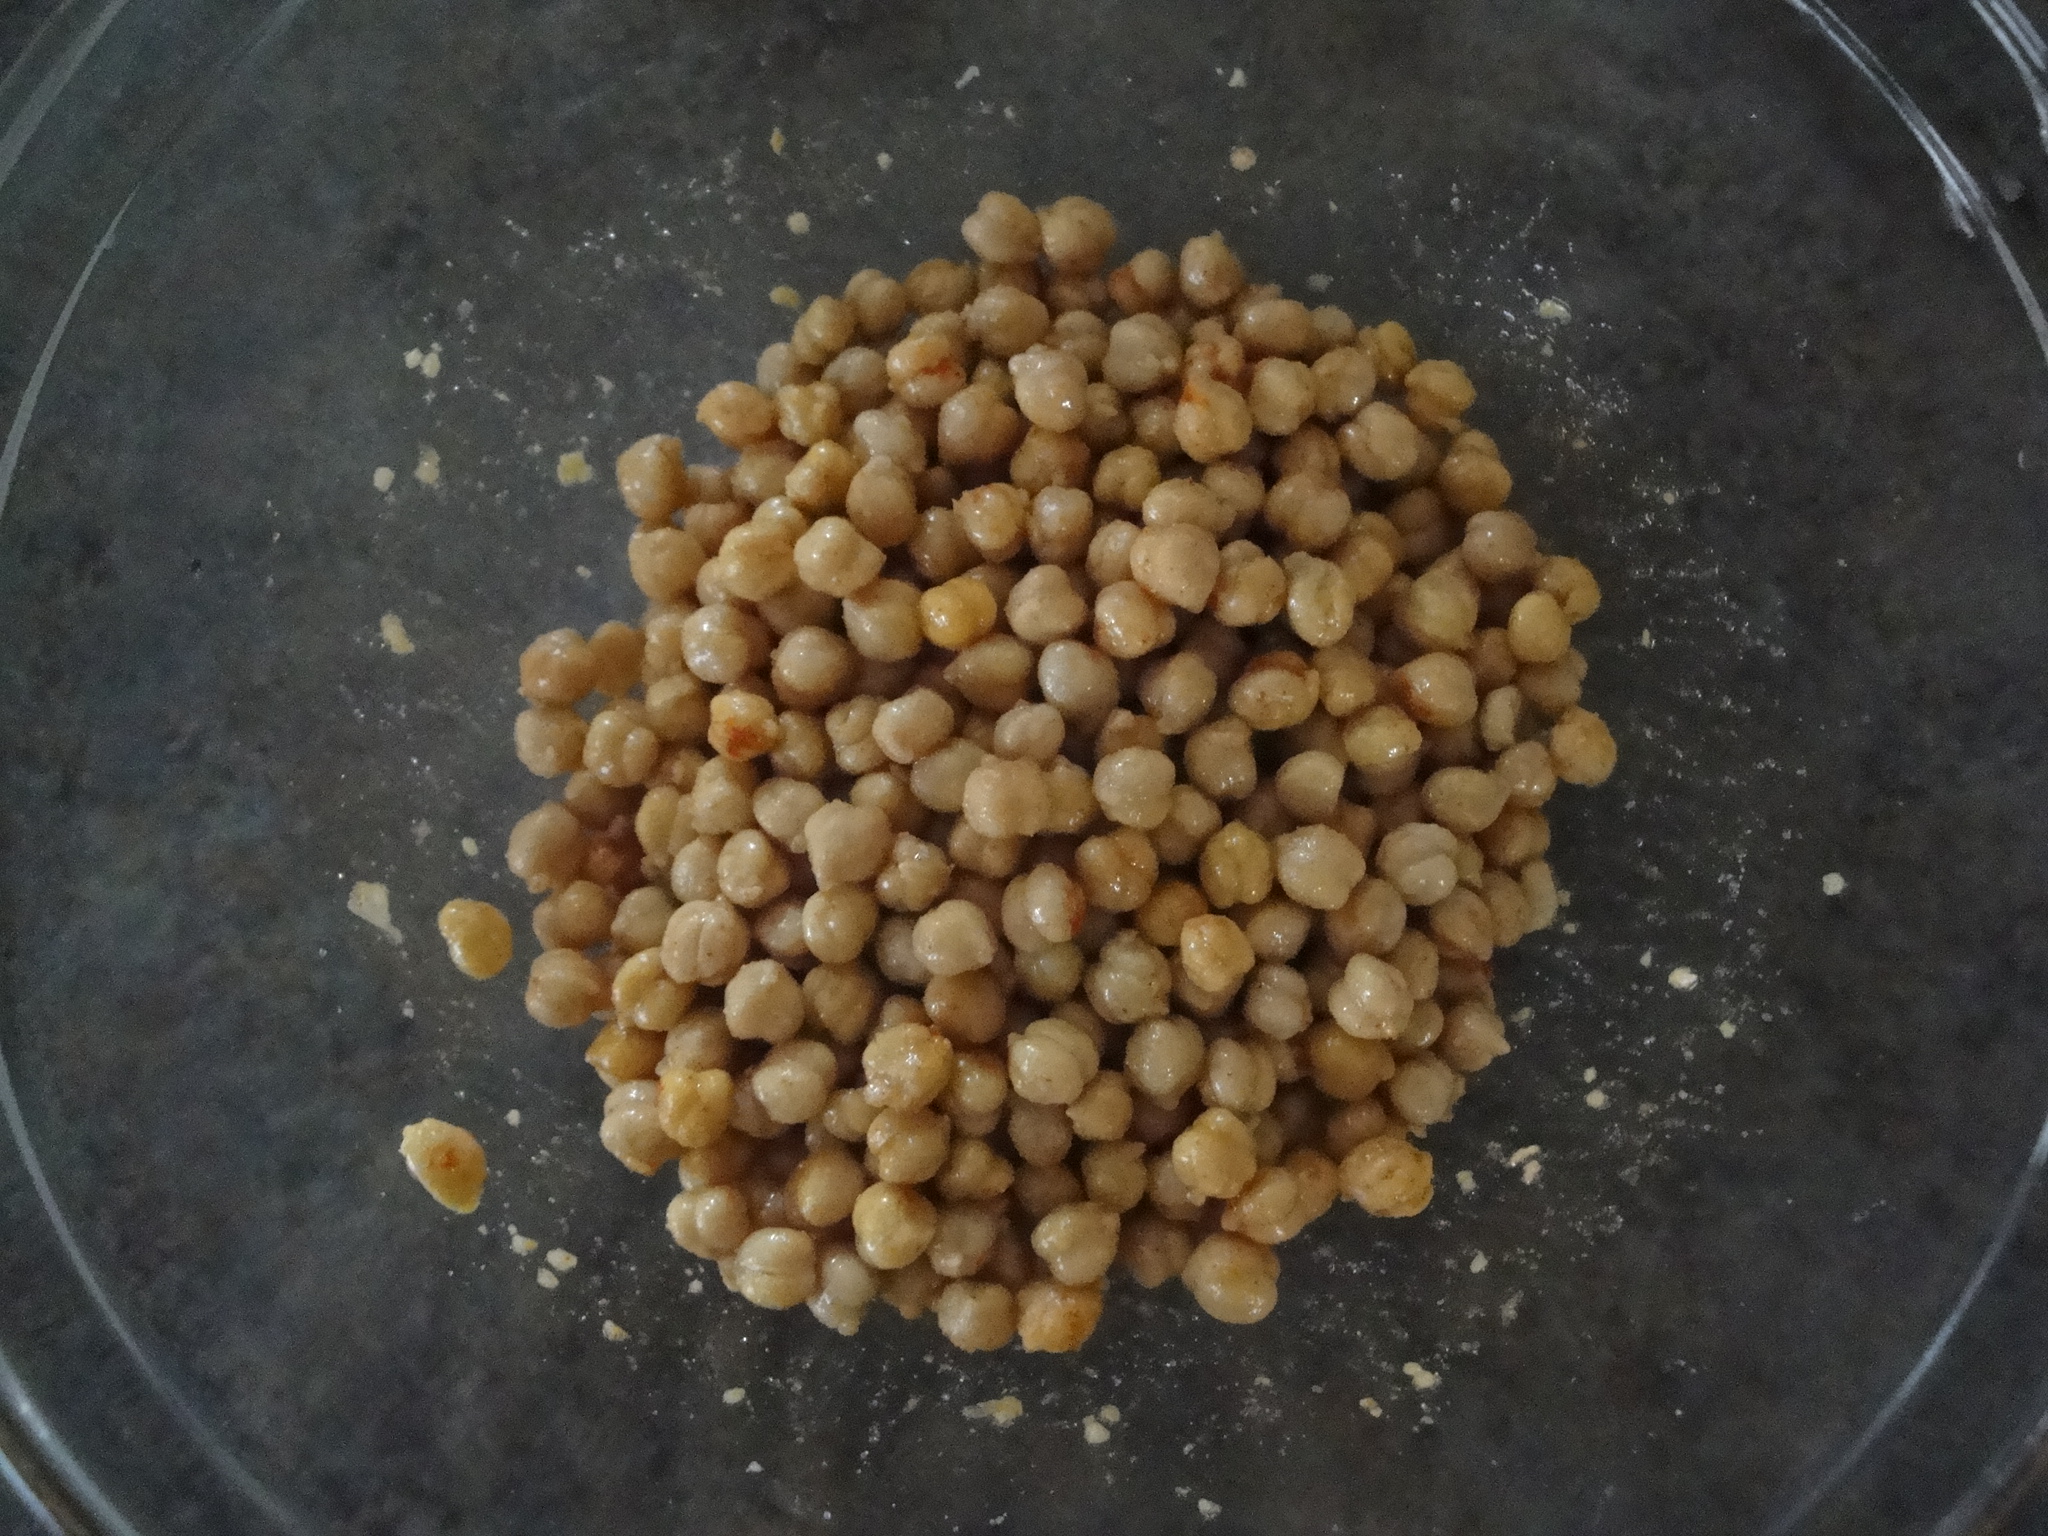
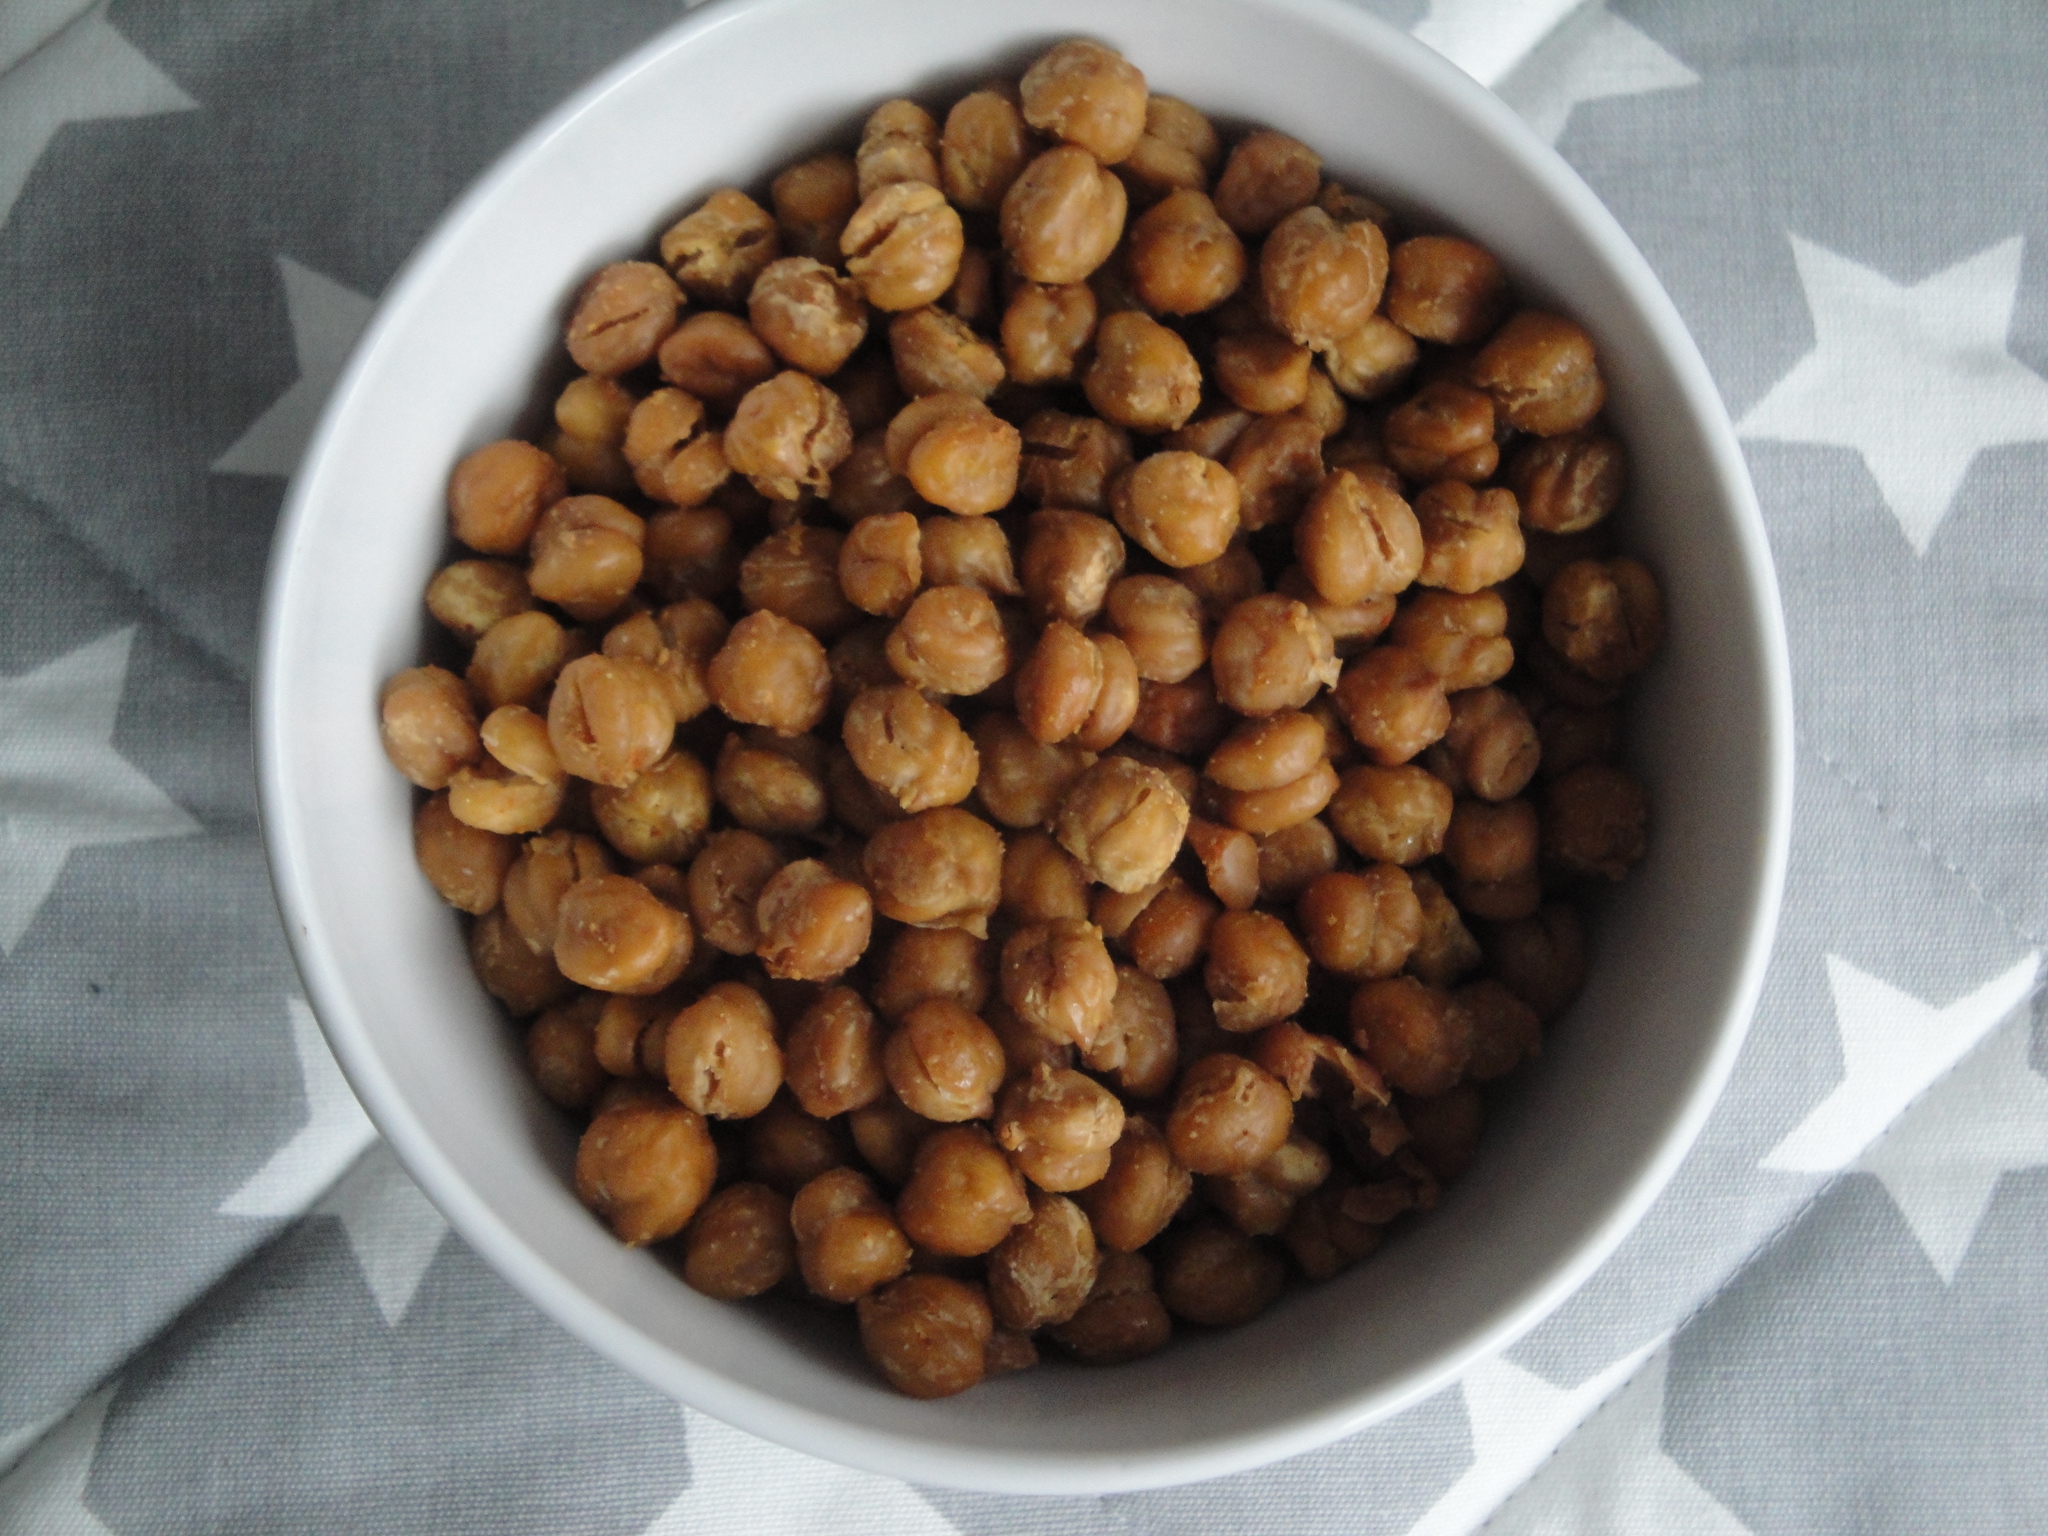
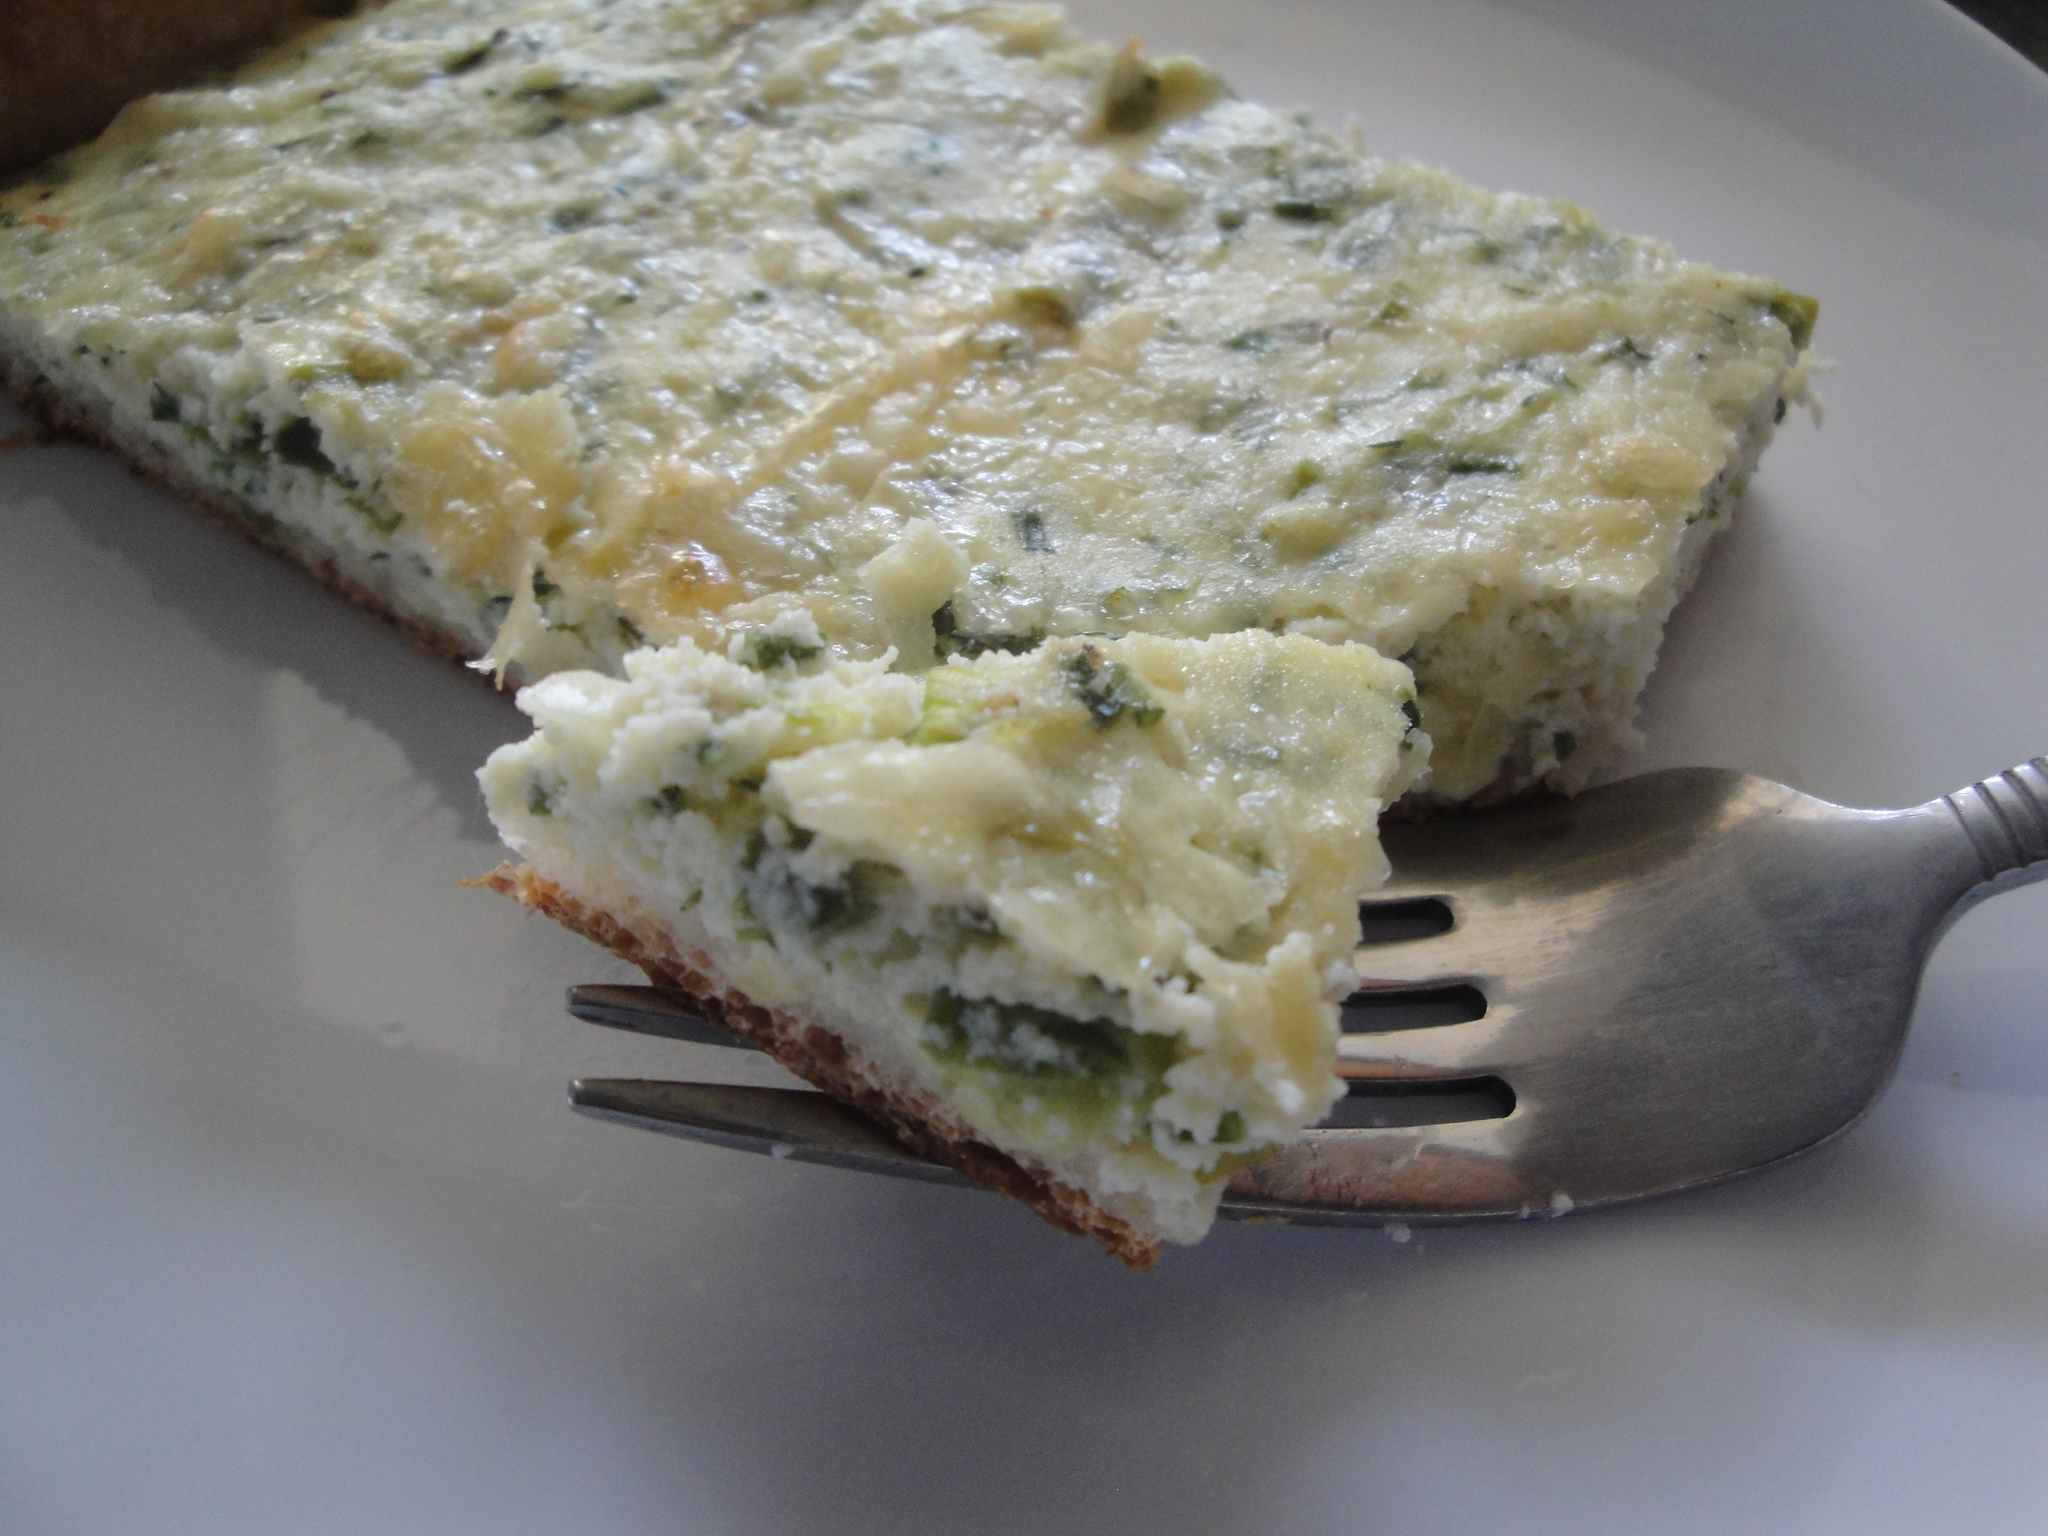
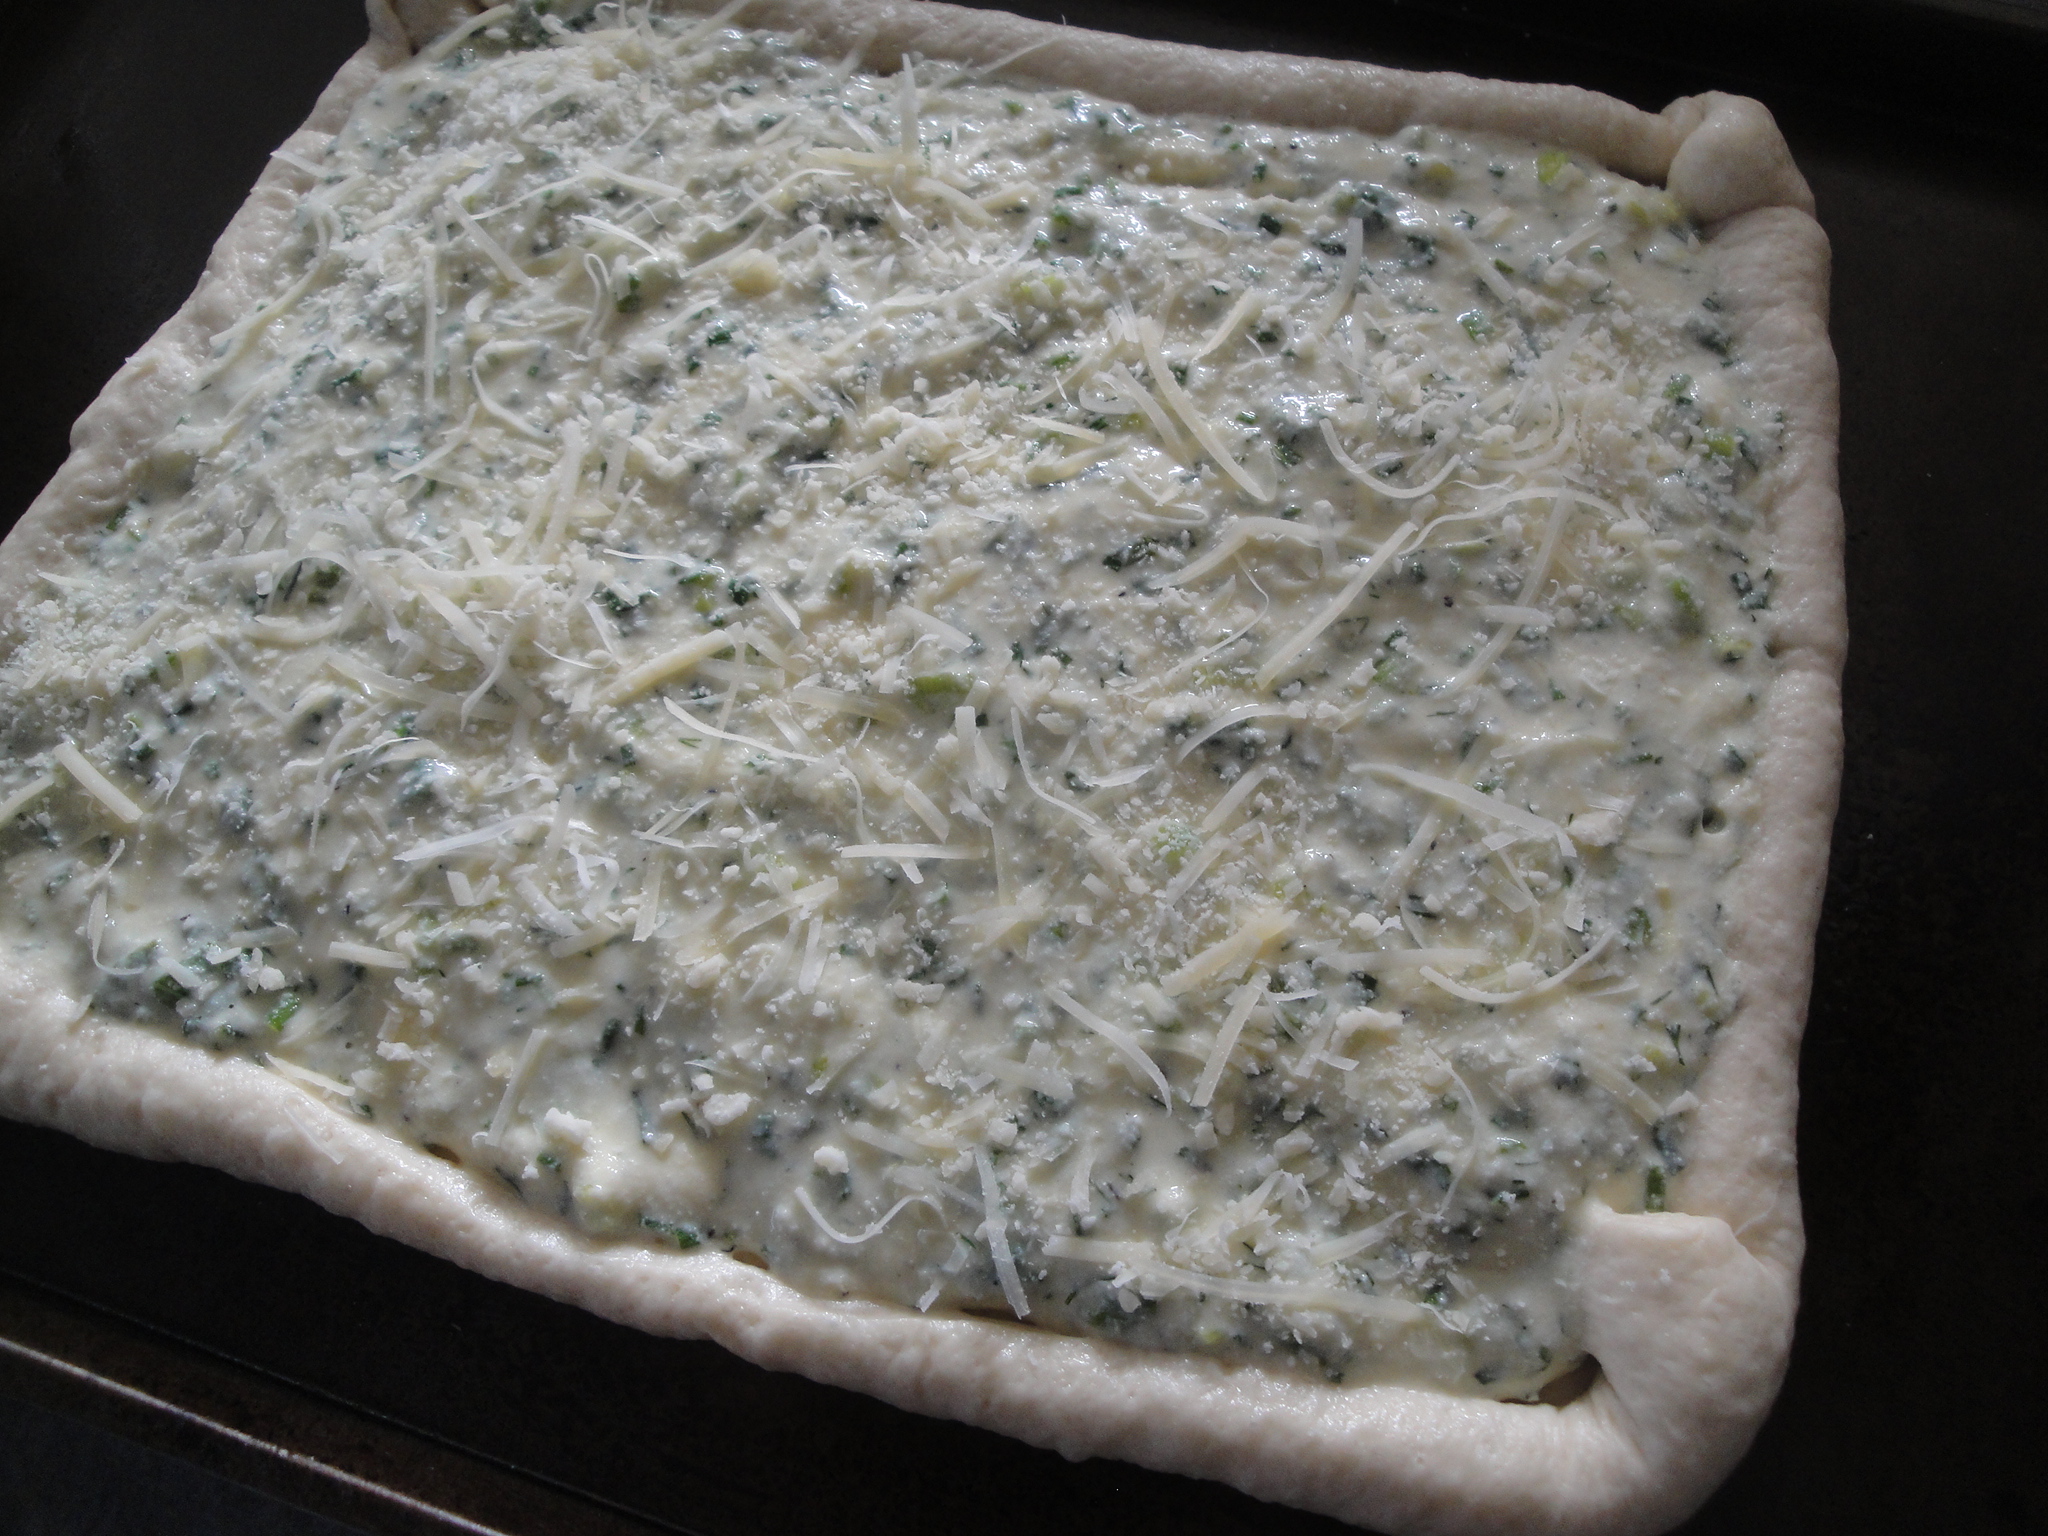
Black beans are mixed with fresh tomato, serrano chile, cilantro, oregano and extra-virgin olive oil and spooned into bright, crisp peppers.  The recipe ends there, suggesting to enjoy these stuffed peppers as a cold plate or appetizer with some chips.  But I took it a step further and threw those bad boys in the oven with a little water, covered in foil, and baked them at 375 degrees for 30 minutes.  How you choose to eat this is up to you but the cooked version made these feel more like a meal to me.  If you want to get even crazier, add a little ground meat with the beans or top them with a little cheese when baking.  This is a great dish for a vegetarian in your circle of peeps or just as-is for a healthy meal, cooked or not.

I won’t have another post this week due to my little vacay but I’m hoping to have some photos to share via Instagram here.  In the meantime, Happy Spring!
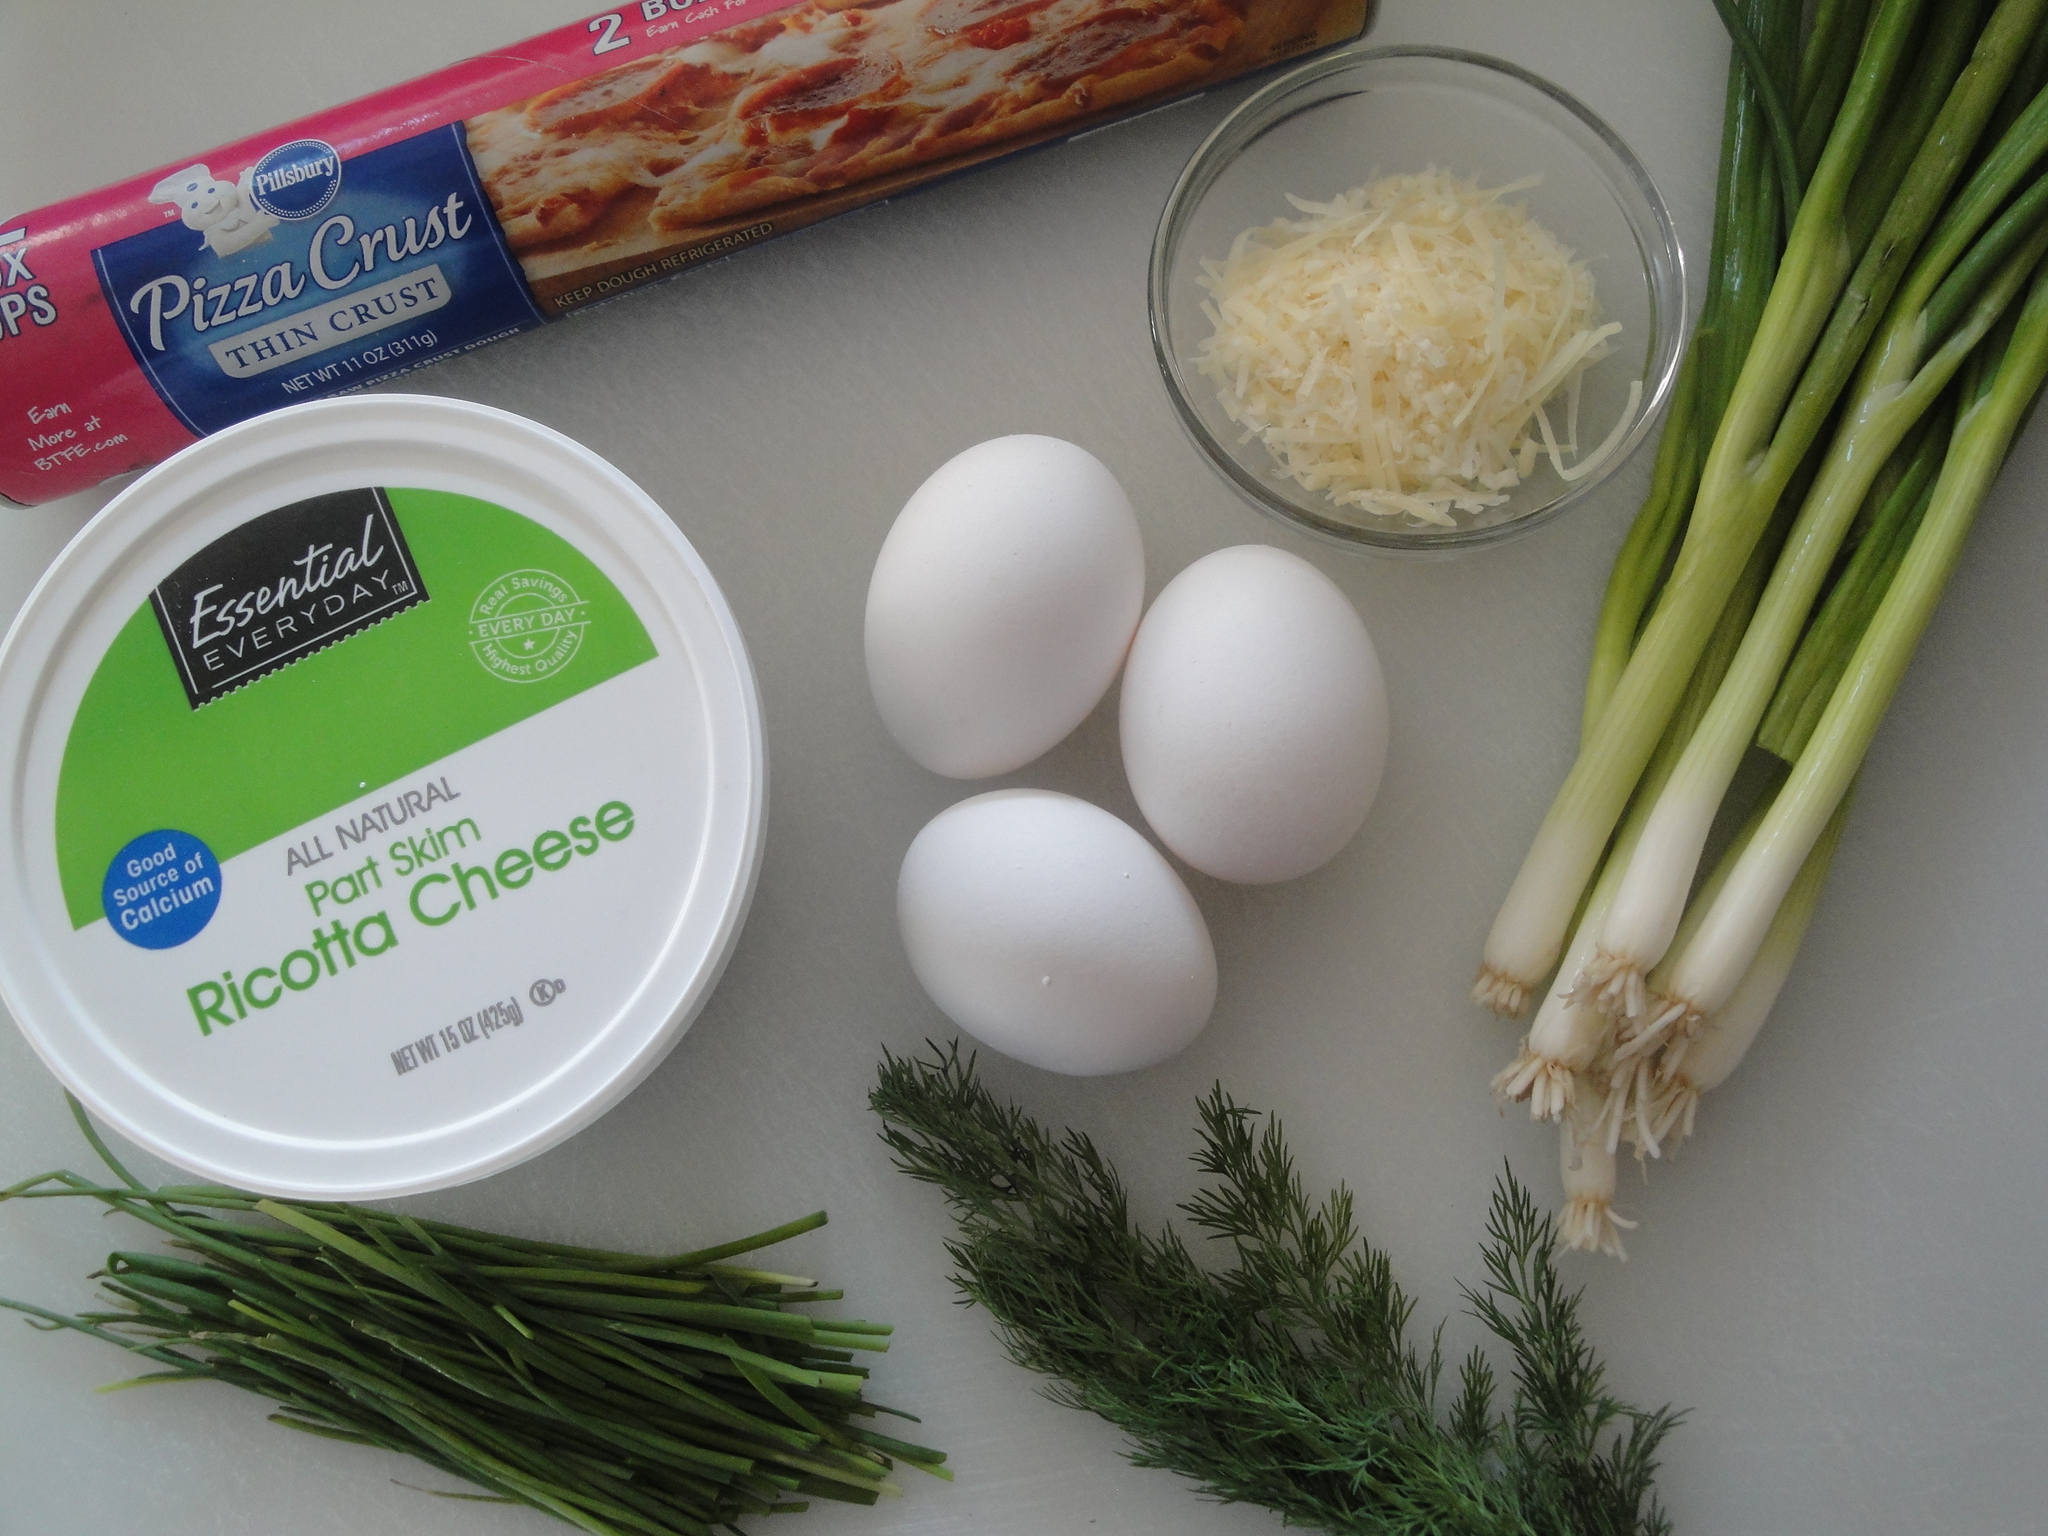
DSC04301

The ingredients:

DSC04297

In a medium bowl, combine the black beans, tomato, onion, chile, cilantro and oregano. Stir in the EVOO; season with salt.

DSC04299

Slice off the top third of each bell pepper. Discard the stems and finely chop the remaining flesh from the tops; add to the bean mixture. Keeping the bell pepper bowls intact, discard the ribs and seeds.  Place the bell pepper bowls on a platter (trim a bit off the bottom if they’re wobbly) and fill with the bean mixture. Serve with tortilla chips, if desired, or bake at 375 degrees F for 30 minutes.

DSC04302

Additions:  None

Omissions:

  • Red onion

Substitutions:

  •  Jalapeño pepper

Overall Rating:  Like It

Source:  Everyday with Rachael Ray magazine

Crunchy Chickpeas

For the second weekend in a row, I’ve gotten completely sucked into the 80’s miniseries North and South staring Patrick Swayze.  Last week was North and South Book 1 and yesterday was North and South Book 2 (based off of John Jakes’ book Love and War).  I remember watching both of these miniseries when I was a kid and have managed to get sucked right back into it all over again like I’ve never seen it.  I’ve always slightly been fascinated by the Civil War but it might be because I grew up in the Land of Lincoln, 30 minutes away from Springfield, Illinois where every field trip I went on in school was somehow related to Abraham Lincoln.  As if dedicating two Sundays in a row to the Civil War and Abraham Lincoln wasn’t enough, I proceeded to watch Killing Lincoln on Nat Geo last night before bed which let me tell you – was not a good idea.  At some point, I did manage to make myself a snack of Crunchy Chickpeas, to keep me going through hours of, well, death.  I guess it’s fitting since today is President’s Day, right?

I’ve seen these chickpea snacks nearly everywhere – in magazines, on Pinterest and in food blogs so I figured, why not give them a try?  They aren’t the simplest things to make but now I get the hype.  Canned chickpeas are tossed with garlic and seasonings and baked low and slow for a long time until crunchy on the outside but slightly chewy on the inside.  Sounds simple enough but the beans first have to be drained and de-skinned.  Hah..wahh?  I never really paid attention to the fact that chickpeas have skin but they do.  Lay them out on a paper towel, top with another paper towel and gently roll.  Yes, roll.  Those little pesky skins will slide ride off.  But take my word for it, do this process in batches.  Otherwise, you’ll be rolling and plucking skins all day.  My first bite of these chickpeas, I wondered what was so great.  But then, there I was, watching 80’s TV and popping these obsessively into my mouth.  I can’t explain it what it is about these snacks but they are slightly addictive.

DSC04267

The ingredients:

DSC04262

Wrap chickpeas in a towel; lightly roll to loosen skins. Discard skins.

DSC04263

Combine chickpeas and remaining ingredients.

DSC04264

Arrange on a baking sheet.

DSC04265

Bake in a preheated 300°F oven for 1 hour and 40 minutes, stirring every 20 minutes.

DSC04266

Additions:  None

Omissions:  None

Substitutions:  None

Overall Rating:  Like It

Source:  Cooking Light Magazine

Herbed Ricotta Tart

Sometimes I think I could just change this blog to “A Fork In Each Tart”.  Every time I make a tart, I devour it.  I think I could eat them every single day.   And there are so many different ways to make a savory tart.  My favorite so far is Summer Squash and Ricotta Galette.  A thisclose second is Rustic Summer Squash Tart.  Both of those tarts are made with refrigerated pie crust (easy peasy!) and are so, so good that I really have to stop myself from eating the entire tart by myself in one sitting.  I came across this Herbed Ricotta Tart and didn’t expect it to be as good as the other two tarts because a) it uses pizza crust instead of pie crust and b) it only has scallions and herbs.  But once again, yet another tart did not disappoint.  I devoured this one just as easily as the others.

Scallions, chives and dill are mixed with ricotta and eggs, poured onto pizza dough and topped with parmesan cheese before being baked until golden brown.  The scallions and chives do not overpower this vegetarian tart but instead provide a subtle onion flavor.  Any herb, such as thyme or basil, would be great substitutes or additions here also.  That is the great thing about tarts – any mixture of herbs and vegetables will work perfectly.  And trust me, this tart is good cold right out of the fridge like cold pizza.  If you haven’t jumped on the tart train yet, please get onboard.

DSC04226

The ingredients:

DSC04219

Unroll dough and press into bottom and up sides of a 9-inch round removable-bottom tart pan coated with cooking spray or mold into a square or circle, carefully rolling up the sides (as I did) onto a baking sheet.

DSC04220

Heat a medium nonstick skillet over medium heat.  Coat pan with cooking spray.  Add thinly sliced green onions to pan; cook 5 minutes, stirring occasionally.

DSC04221

Combine cooked green onions, ricotta cheese, sliced fresh chives, minced fresh dill, salt, freshly ground black pepper, eggs, and egg white.

DSC04222

Pour onion mixture into prepared crust; sprinkle mixture with Parmigiano-Reggiano.

DSC04224

Bake in a preheated 375°F oven for 35 minutes or until center is set. Let stand 5 minutes. Cut into 6 wedges.

DSC04225

Additions:  None

Omissions:  None

Substitutions:  None

Overall Rating:  Love It

Source:  Cooking Light Magazine